My journey with spinning has been far from linear. It did start, however, in the same way as most of my craft interests: seeing others do it and thinking “I really want to give that a go…” Crafting is contagious like that - have you noticed?
Spinning with a Drop Spindle
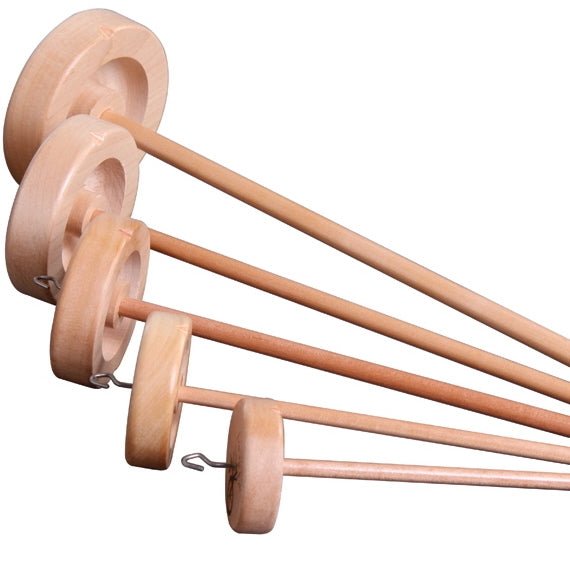
There were early experiments with drop spindling, way back in July 2008. And the thing about “drop” spindling is that it’s so accurately named! When you first stand using a hand spindle it’s a good idea to stretch out those glutes before hand. You’ll be squatting to pick it up from the floor *a lot*. But it’s such a valuable learning process, as you get up close-and-personal with your spinning fibres and you get a really fundamental grounding in the process of drafting and in gauging the right amount of twist to add as you go.
2 Tips for Drop Spindling
I highly recommend two things at this stage:
- Pre-drafting your fibres (essentially spreading apart and thinning your fibre ahead of time, so you don’t have to do too much of this this while juggling the drop spindle too), and
- Using the park-and-draft method, to keep things a little more manageable. And to save those glutes.
As with almost all things, practice makes ‘better’. Take your time and soon you’ll find yourself with a higgledy-piggledy single ply of thick and thin yarn. It will be one of a kind, arty and abstract and you should be very proud of it indeed.
In time you will find your plies getting thinner and more consistent and that’s when you can start thinking about combining them. Wheel spinners use bobbins and a device called a Lazy Kate to keep everything organised during the plying process, but as a new drop spindler your individual plies can rest wrapped around toilet paper inserts until you’re ready to combine two or more by twisting them (and this is very important) in the opposite direction in which they were spun.
I won’t get into the concepts of Z Twist and S Twist too much here, but essentially these concepts are labels for clockwise and anti-clockwise spinning. Once you ply (combine single ply strands together) in the opposite direction to the way those single stranges were spun then you’re golden.
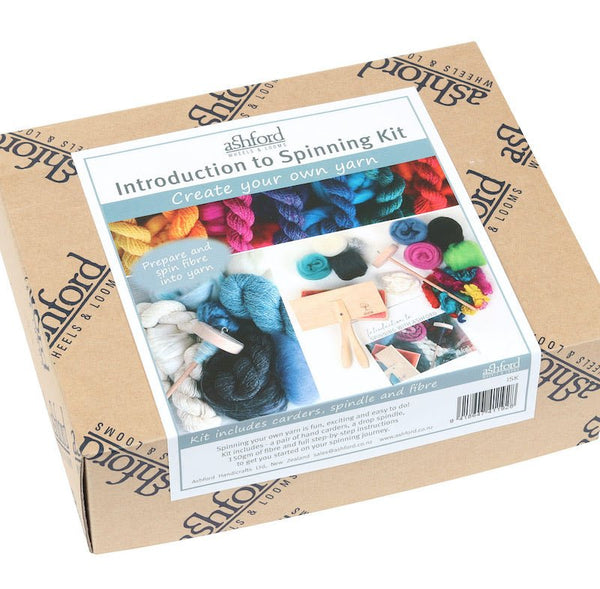
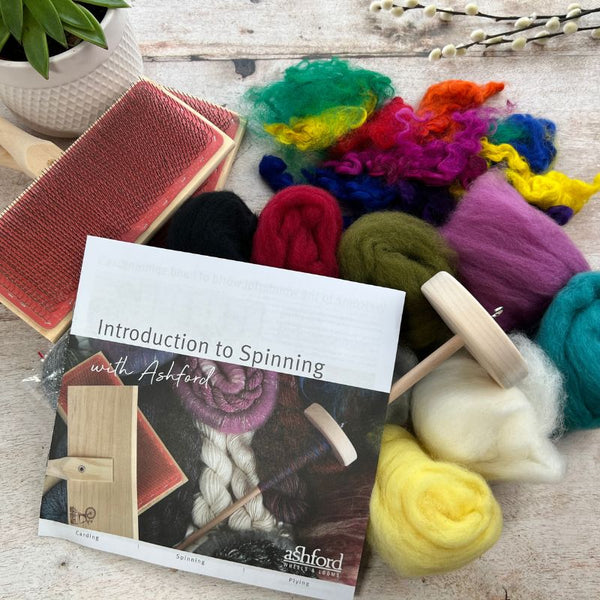
| If you are looking for a beginner friendly spinning solution, check out the Introduction to Spinning Kit from Ashford - HERE |
Getting Started on a Spinning Wheel
Back to my own personal path: it really wasn’t long before I was craving a whole wheel of my own. I had the chance to take one for a test drive at a trade show and I felt bereft leaving it behind! Oh the possibilities it opened up in my wool spinning journey - faster spinning, thinner plies, an in-built lazy Kate. It didn’t hurt that it was incredibly pretty to look at too.
My 30th birthday was coming up and there was just one thing on my wish list: A spinning wheel.
I opted for the Ashford Traveller wheel for a few reasons:
- Double Treadle was an option - I really wanted to feel “balanced” when using it and single treadle (foot pedal) versions just didn’t appeal to me personally. You mileage may vary!
- It could be set up as a “Single Drive” or “Double Drive” Wheel. To this day I haven’t used the second option, and I’m unsure of what advantage it would offer. But it’s nice to have the choice.
- It’s (relatively) portable! As you would imagine with a spinning wheel called “Traveller”, it is compact enough to be popped in the back seat of a car and brought to crafting meet ups or on weekends away. Ashford do produce a more compact wheel - the Ashford “Joy” - but the Traveller won out on aesthetics here!
Generally speaking you can buy waxed and unwaxed models of each Ashford Wheel. Unwaxed is cheaper, but I would then recommend taking the time to wax each piece at home before assembling the wheel itself. You’re going to be together for a long time, so a little care at this stage goes a long way.
There was then a fair bit of trial and error as I got the wheel up and running. Ashford supply an excellent getting started guide with all of their products, so this - and a bit of time on YouTube - is all you need to get you producing your first wheel spun yarn.

Other Wool spinning options: E-Spinners
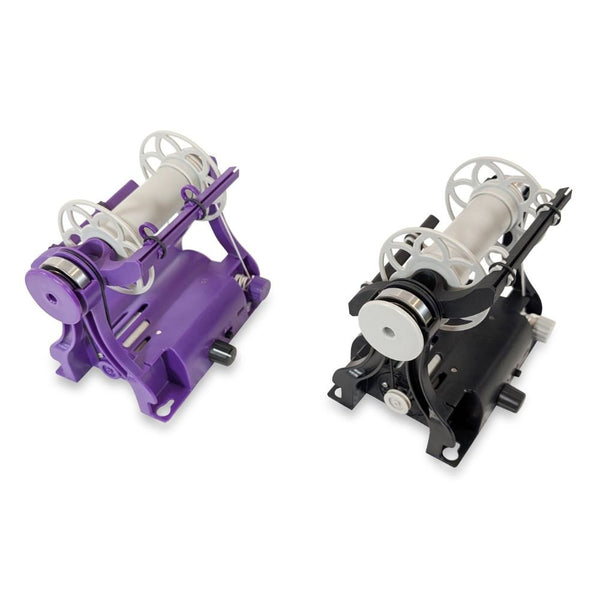
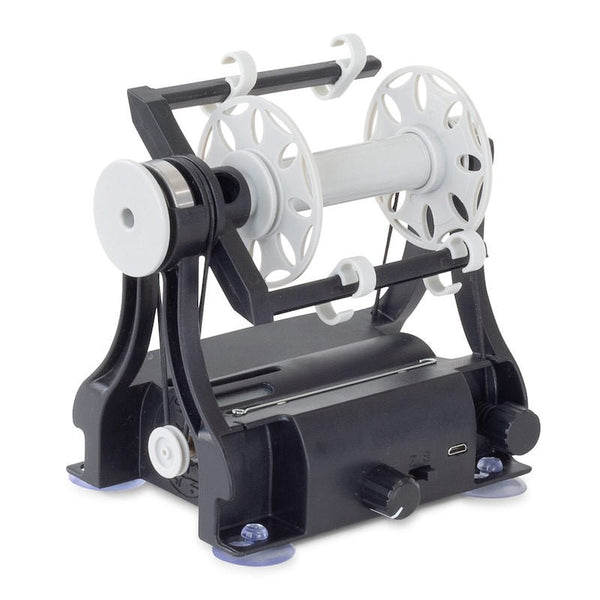
Of course these days there are affordable and compact e-spinners on the market that are a great next step upgrade from drop spindling. Instead of treadling, these wheels have small motors that are electrically powered. Speed and the direction of twist are then set by dials on the device itself.
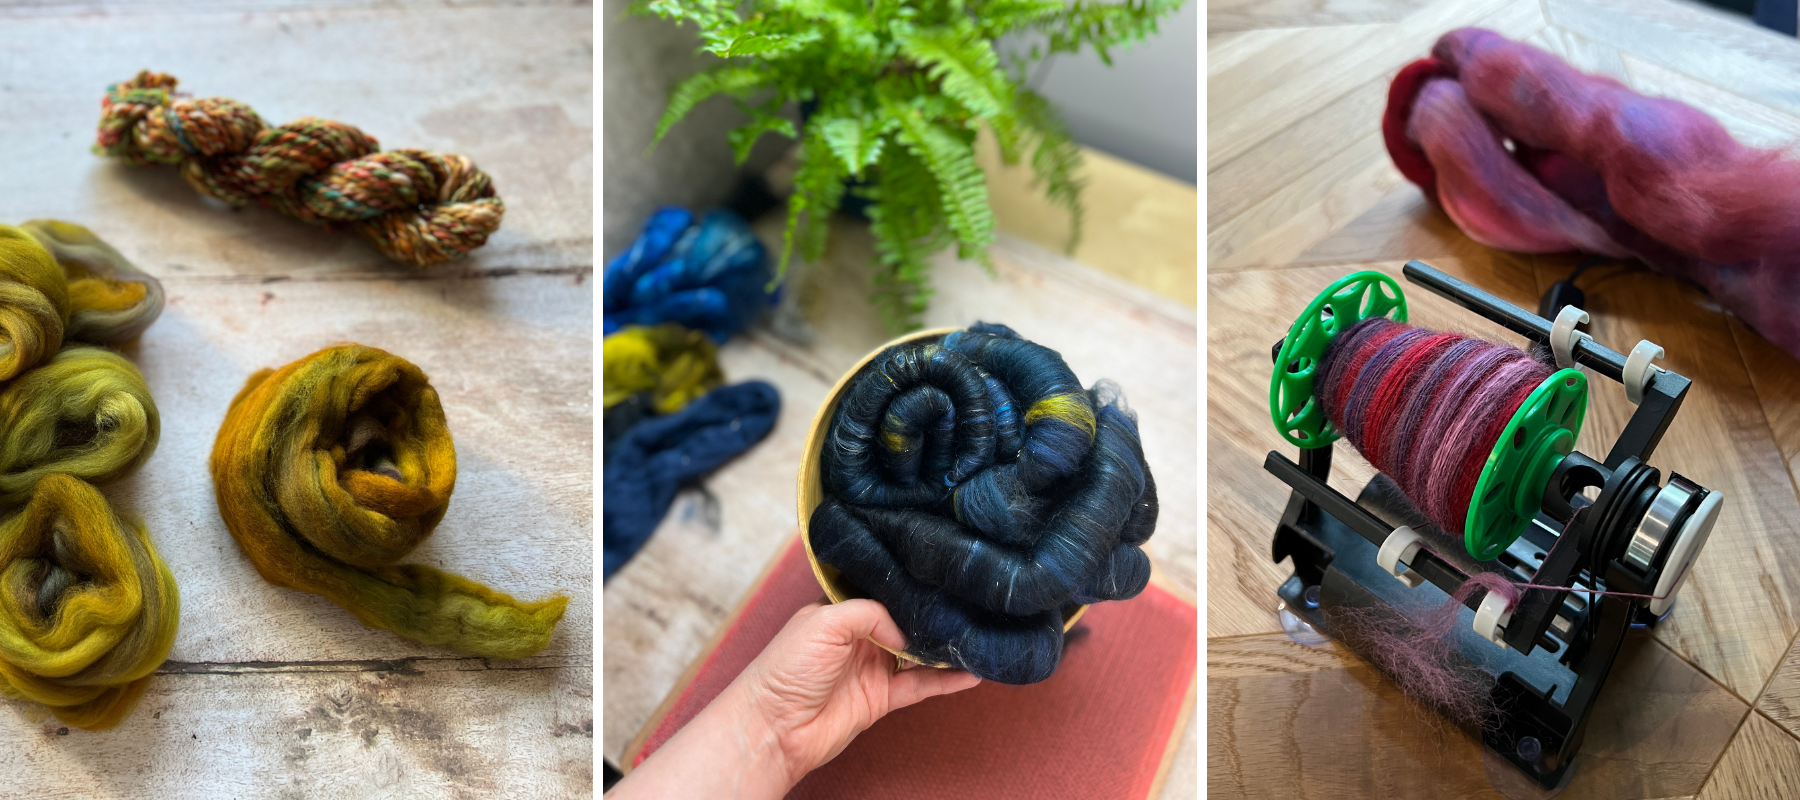
Since getting my hands on a Nano E-Spinner I find myself spinning more often, simply because this wheel is so compact and portable. I can use it with a USB power pack, so the opportunities for getting a few minutes at the wheel arise much more often. I can spin thinner plies on the Nano too, which makes me feel very accomplished! That’s handy too, as with portability comes the minor drawback of the bobbins themselves being on the small side. Thankfully you get six bobbins per pack though, so there’s still plenty of spinning capacity when you add everything up.

Spinning your yarn
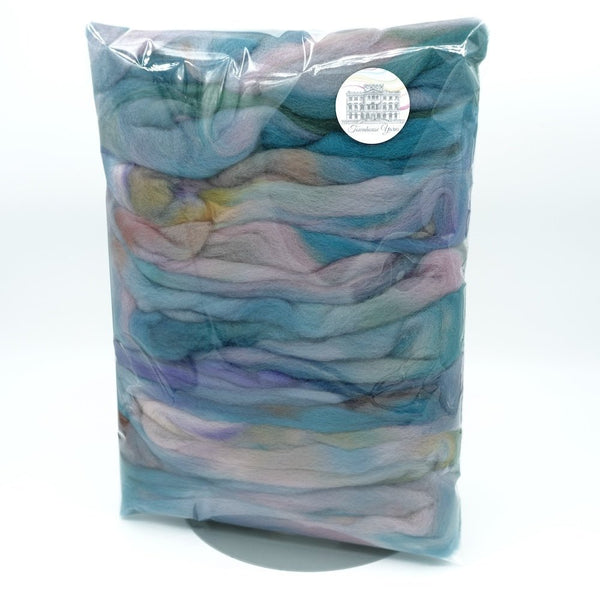
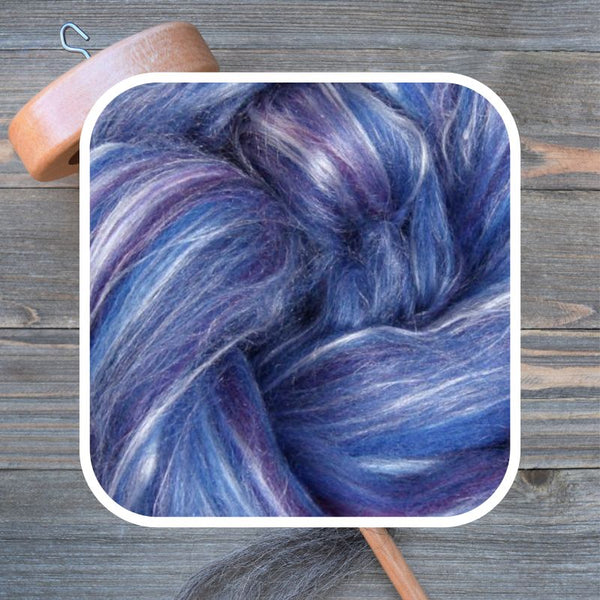
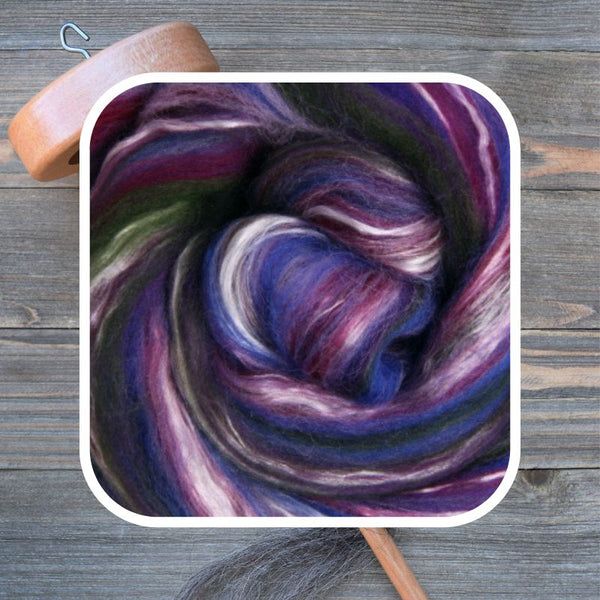
Somewhere in the middle of all of this I also fell in love with the process of making my own fibre blends - inevitably with a dash of sparkle in the mix. Now, if you want to get really committed, you can invest in a Drum Carder for making your own blends. Currently though I’m operating on low-fi with my beloved blending board. It’s an immersive and utterly satisfying experience to work with mixing colours and textures this way. I know we often say that crafts are therapeutic, the low-stakes, free flow of this process absolutely fits that bill.
Curious to see the process in action? Check out This Reel
What to knit with your hand spun yarn?
That’s my journey to date. Initially I didn’t use much of my handspun in knitted projects as those skeins were so special to me they were finished objects in their own right. But over the years there have been shawls, scarves and home accessories created and gifted. My next goals?
- To knit a sweater with my handspun. Possibly just incorporated into a yoke for starters and then I’ll “graduate” to a full sweater.
- To open a whole other can of worms and begin weaving with my handspun. Sure, why not…?
And there you have it – my ongoing adventure with yarn and wool spinning. The joy of creating your own fibre blends is unmatched. Spinning your own yarn isn’t just about producing unique, handcrafted skeins; it's a journey of creativity and relaxation. From experimenting with colours and textures to finally seeing your handspun yarn transformed into cherished knitwear, the process is as rewarding as the finished product.
Ready to embark on your own spinning journey? Grab your fibre, get those spindles ready, and let the magic begin! Happy spinning!
